After you have downloaded ViewRanger and added it to your watch, you are one simple swipe away from starting your route! The layout of the Sony SmartWatch 3 is intuitive and easy to use. It took me no time at all to get to grips with this, and the setup was minimal. So all ready to go…
A basic overview of the app and its features:
In the video above you see me start the route via my phone – this is because I wanted to follow a route I had previously recorded. Here I started the route on my phone in the usual manner; this activated it to start on my watch simultaneously. However, starting a new track is even simpler, all you have to do is open the app on the watch and hit the Start button… et voila you’re off!
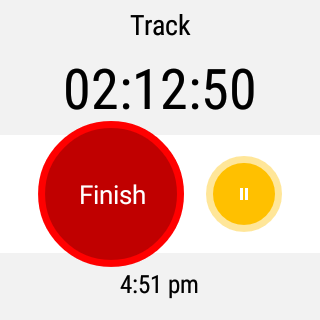
Now you have started, you have a number of screens you can check your progress on. The first is the Track screen – here you can stop your route with the finish button or pause it. You can also see the overall time you have been out.
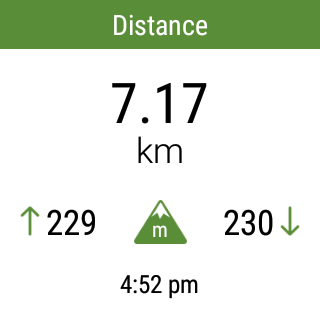
The great thing about this app is you can get a snapshot of how you are getting on very quickly without getting your phone out. The Distance screen has a handy overview showing you your overall distance at the top, then height gain and descent left and right respectively.
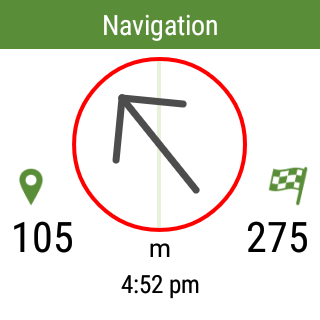
The Navigation screen is the one I tend to refer to the most – the large arrow points you straight in the direction of the next waypoint. Then on the left, you have ‘distance to the next waypoint’ and on the right ‘distance to the finish’. It’s worth noting these screenshots were taken very near to the end of my route, so I’m pretty close to the finish.
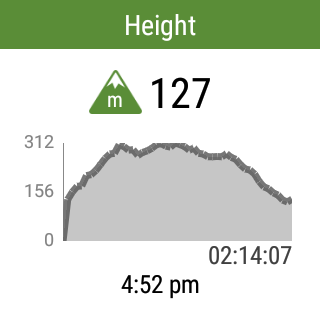
The Height screen plots your actual height against time showing you a nice summary of your journey so far in terms of ascent and descent. The number displayed at the top of this screen is your current height.
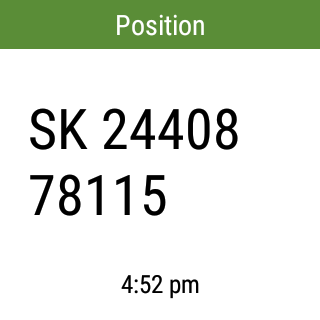
The Position screen provides you with your exact grid reference. This is an extremely useful feature should you need to locate or report your position quickly. I have also found it good when practising orienteering – the aim being to get to an exact spot using a map then checking how well I did on the watch.
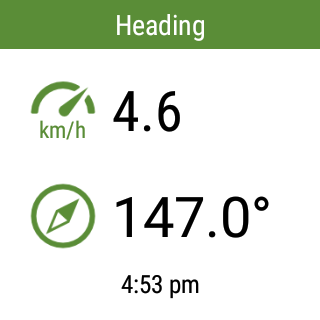
The Heading screen shows you your speed in km/h and the bearing/direction you are heading. Again I have used this to practice my orienteering, walking on a bearing and seeing how accurate I can be.

Finally, this is the ‘sleep-mode’ screen (not sure if that’s the correct technical name!) that displays when you have the app running but the watch on standby. When I am not checking direction or stats, this tends to be how I have my watch to preserve battery life. That being said I’ve found the battery life of the Sony SmartWatch to be really good so far.
So that is a brief overview of how ViewRanger works on the Sony SmartWatch 3. I know it comes across as very simple and straightforward – and it totally is, there really isn’t more to it! Having the watch has been a real revolution for me, especially when it comes to the biking – it’s so nice to be able to set up and go, not having to worry about checking your phone. I will try and get a full review of the watch itself up soon. However I want to use it a bit longer before I do that (so I can give you guys the full low-down!).
If you have any questions, please get in touch, I would be delighted to help. Also if you would like to follow the route I walked in the video you can access this just below. It’s currently down as a run but also makes a really nice walk.


Comment